12x12, 6x6 pad, banner, dear lizzy, doily, flowers, girl, let's scrap, memory works, pennant, photo, prima, ranger, school, studio calico, teresa collins, washi, website
Extra Special Teacher’s Gift~a Baby Mini Book
Happy June and to the end of this school year! Ok, some of you may not be jumping for joy at the thought of kids in daycare for the summer.. I totally get that dilemma believe me! Kuddos to us working Mom’s who somehow make it work!
Today I’m sharing a very special teacher’s gift. Yes, I did spoil this teacher a little. Ok, a lot! She was Sari’s kindergarden teacher this year, who will remain nameless for her privacy. None the less, she deserves some special recognition. Sari came home nearly every day amazing us with what she was learning. It started with her ‘sight words’, then double-digit math and reading! We were so impressed with what Sari learned this school year that I wanted to give her teacher something special. Hmmmmmm, what to do?? Then, this winter we learned that she was due with her first baby in August, a daughter!! Bingo!! I knew exactly what to do for her!
So without further adieu… a baby girl mini album! I used the Teresa Collins She Said collection. I love using the 6×6 paper pads for mini albums. The patterns are shrunk down to the 6×6 size so you don’t lose any details or miss out on the entire pattern. I also used the 12×12 She Said Sticker Sheet, which contained so many fun elements and alphas! The base of my mini album are some papers from my stash (Crate Paper I believe). I adore the white on Kraft floral print! It’s very soft and pretty.
To create the album base, I trimmed a 12×12″ sheet of patterned paper in half to 6″ by 12″. Then, fold the 6×12″ piece in half to form the 6×6″ album base. You can easily layer a few of these to create a mini book. Just one sheet of 12×12″ paper gives you a great sized mini album with eight pages to decorate and add photos!


You can see below that I used a chipboard banner sticker (Dear Lizzy Lucky Charm) upside down. The tags it’s attached to pulls out! Her teacher can use it for journaling some sweet baby stats or some small photos of her darling baby girl. Since the chipboard sticker is hanging over the top of the tag, I just attached some scrap paper to the back of the chipboard sticker that coordinated with the next page.
See those white felt flowers? I cut those myself on my Cricut. Say what?! Yes, you CAN cut things other than paper and chipboard with your Cricut. You just need to follow a few simple steps. (More on that coming soon!!) The flower centers are from the same chipboard sticker sheet as the banner (Dear Lizzy Lucky Charm) and little pearls are also from ZVA! They’re a very inexpensive embellishment, $1.90 for 127 individual peals. They add such a cute little touch!


Below, you can see the top of that chipboard banner sticker poking out on the top of the left side, next to the No. 1 sticker. This simple technique adds another fun element to your mini album, along with the dark Kraft tags from Ranger that are on the right side.
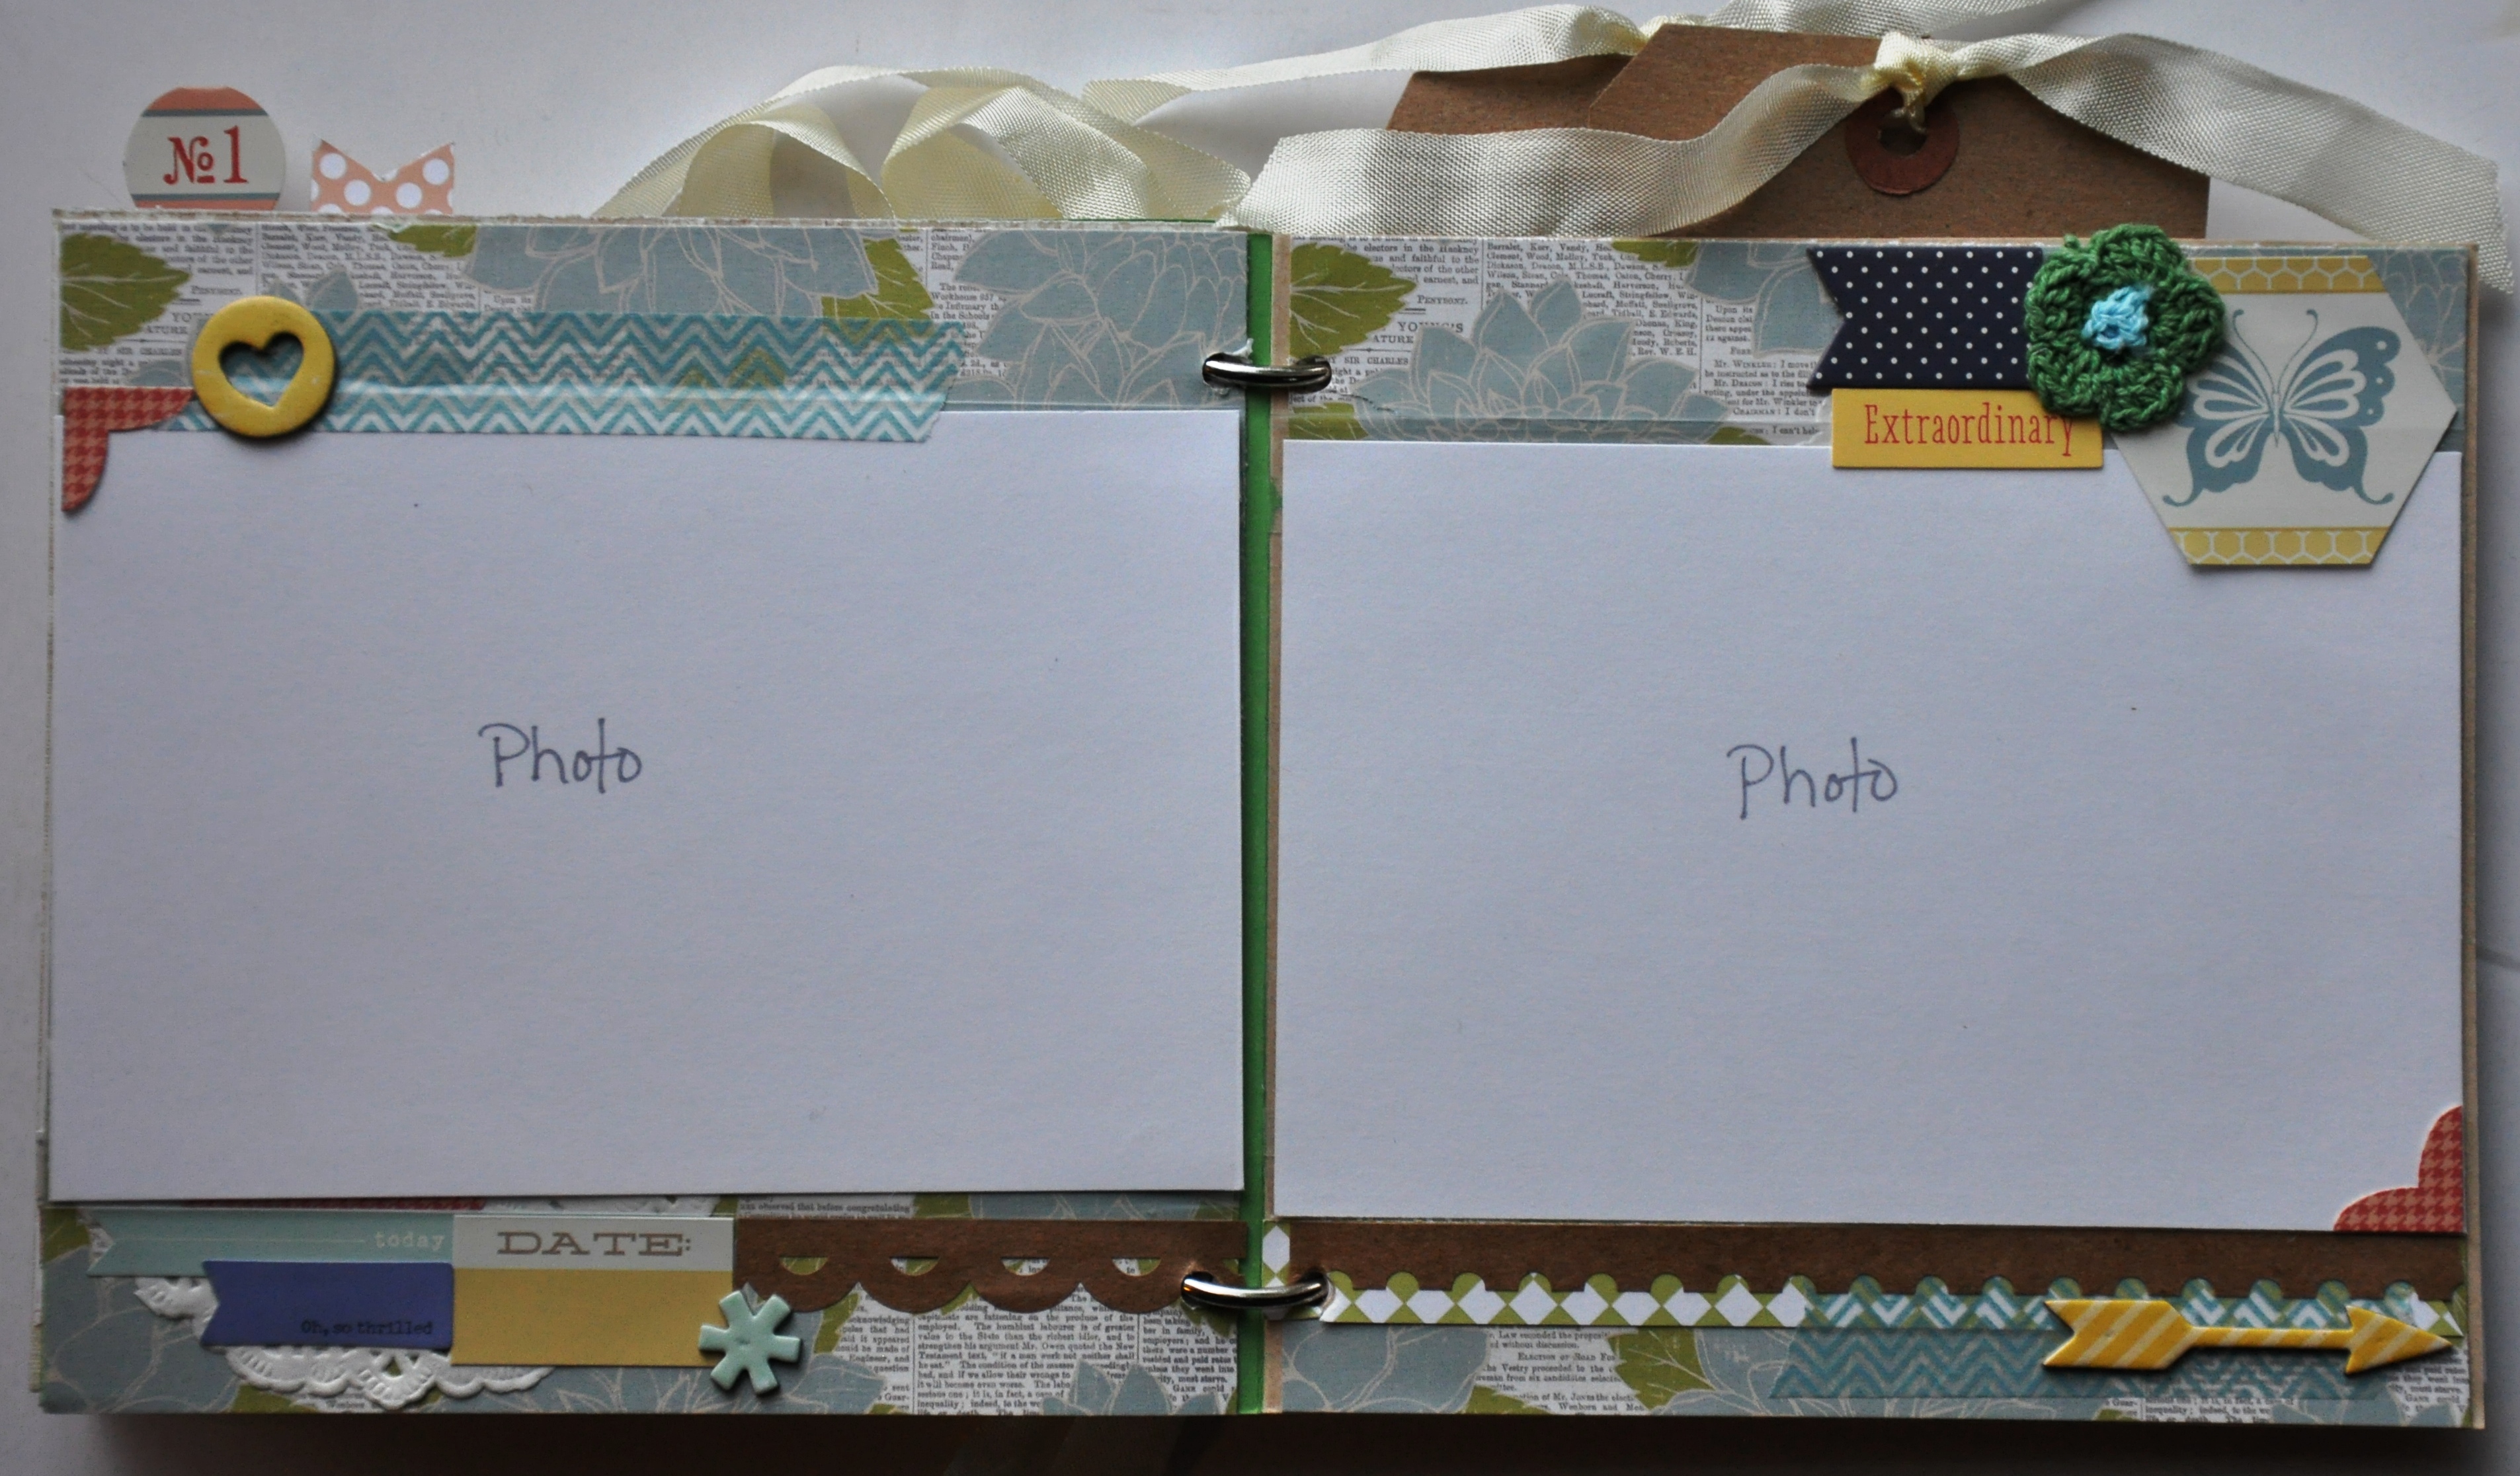
To create the pocket for the larger tags, I adhered two pages together on three sides. I left the top of those two pages free of adhesive to create the fun pocket. I used these Kraft tags from Ranger, but you could also use the coordinating patterned paper to create your own custom tags! I topped them off with a pretty cream colored seam binding.


As you can see, I kept the design pretty simple. I didn’t want the mini album to be too bulky. But, by layering different patterned papers and stickers you can still give the pages some dimension and interest. And, a doily here and there never hurts either 🙂 I also mixed in some other stickers from the Dear Lizzy Lucky Charm collecion. All the Memory Works products have been linked up directly to the Memory Works website. Contact me to order directly! Thank you for visiting my blog today. I hope you were inspired to create and try something new!
Coming soon…
1). Storage and display ideas for you mini albums.
2). Cutting more than paper on your Cricut!
Until then, happy scrapping!


One Comment
Lacey Igo
darling album Jody! What a great gift!